


How To Care For Chicks
- Kristen Ellison
- Sep 16, 2021
- 5 min read

You're finally ready to take the plunge, and you've bought your first baby chicks! Now what?
First, let me start off by saying that I always recommend finding a reputable, local breeder when buying chicks. They have great knowledge, closed flocks, and the move isn't as stressful for the chicks. However, you might have your eye on a certain breed or the locals have stopped hatching for the year, so there are other options out there that can help you get exactly what you want.
Personally, I prefer to order from a large hatchery when I'm looking to add production breeds or meat breeds, especially since I don't have any local breeders of those specific types. They offer discounts for larger orders, and they can ship live chicks. I just got my last batch of chicks today shipped from Minnesota from McMurray Hatchery.

Now, there are a few things you need to know when shipping chicks through the USPS:
There are delays thanks to the pandemic, so be sure to choose a hatchery that works closely with the USPS to ensure that your chicks will arrive on time.
The move is very stressful for chicks without extreme weather, so be mindful of when you choose to ship. I try not to order in the middle of summer anymore, and I prefer to ship in the middle of spring or between September and early October. You are allowed to choose when to have your chicks shipped through most large hatcheries.
These chicks will not be delivered to your front door. You will have to drive to the post office early in the morning. Your local office will call you as soon as they arrive, so be sure you are not obligated to be anywhere on estimated day of arrival.
You may lose some chicks, despite your best efforts. This post is just a guide to give you the best chance of getting these chicks a good start.
Ideally, you'll have everything set up the night before you expect to have your chicks. Living in the south, I'm blessed with not having to leave my chicks indoors until they are fully feathered. It's still an average of 90° here, and I have multiple brooders under shelter. I have one portable brooder that lives in an enclosed garage in the winter, but it stays in a larger, open coop from late spring to early fall. I have a second coop that has an enclosed brooder built in that is ideal for once the chicks get to about 4 weeks old. But even though the weather is nice, I prefer to have the chicks inside my house for at least 48 hours after arriving. This allows for me to control the temperatures and humidity levels, and it helps to keep a close eye on any that may be struggling more than most. If you live in a cold area, I suggest keeping your chicks inside until fully feathered or 6 weeks old.
For an indoor brooder you will need:
• Something to keep the chicks in. You can use a plastic tote (what I use), or you could invest in a rabbit or hamster cage. Personally, I love a rabbit cage, but they just don't work for the volume of chicks I hatch out every year, but this would be ideal if you plan to keep them inside for several weeks.
• A heat source. I use a heat lamp inside, but I'm investing in a heat plate for the spring. Heat lamps are a fire hazard, so be sure to secure it well and to keep fabrics or flammable material away. Heat plates are safer.
• A waterer and a feeder. Be sure to get a smaller waterer or place marbles in a water bowl to prevent chicks from drowning.
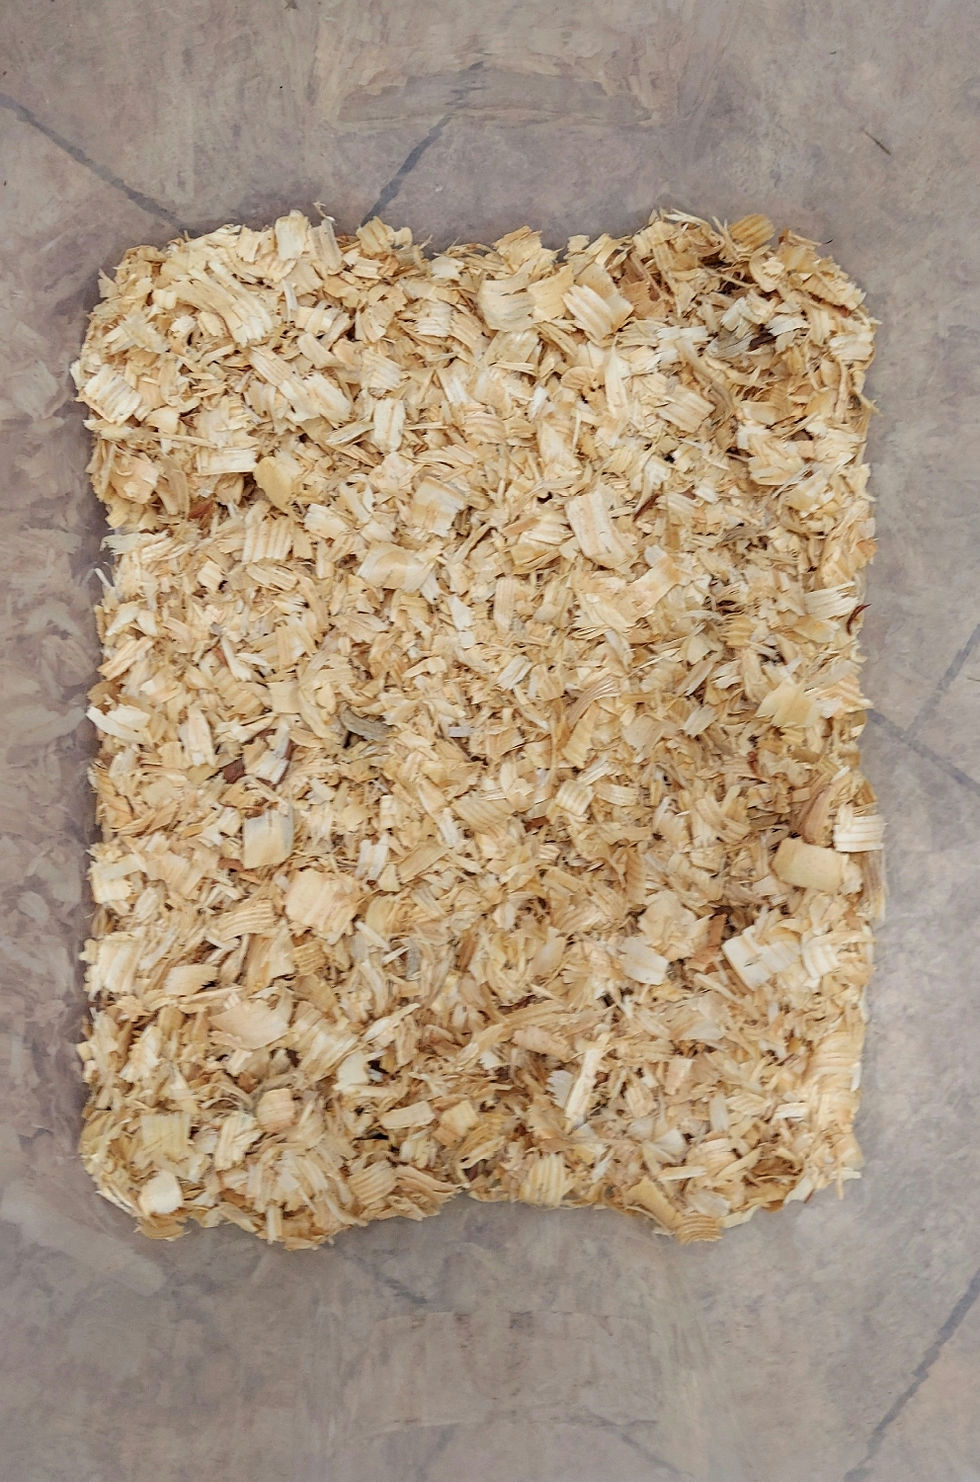
• Large Flake PINE shavings. You could also use pellets horse pine bedding. Do NOT use Cedar shavings! These are toxic to chicks.
• Paper towels
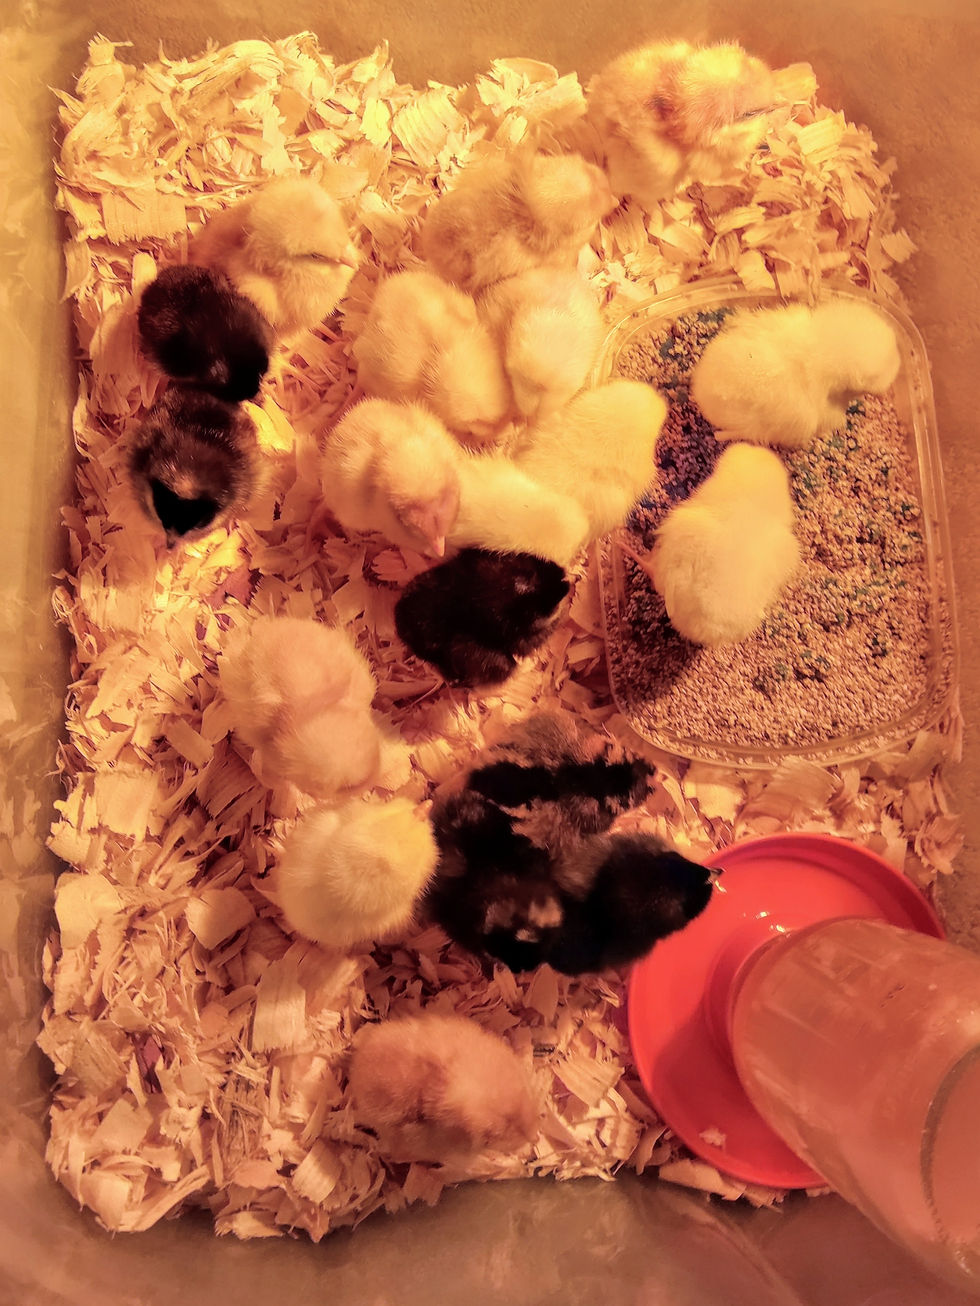
First, clean your brooder. I do use a chemical cleaner first, then do a second wash of soap and water. Be sure to rinse thoroughly. I use chemicals to kill any bacteria left over from the last batch or anything it may have picked up while in storage, but I wash it with a mild soap and water to protect the chicks from any residual chemicals. Dry completely, then line the bottom with paper towels. This prevents the chicks from slipping on the plastic. Slipping with their delicate legs can cause something called "Splay Leg," which is treatable, but still preventable in this case. After the paper towels, add the shavings or pine pellets on top. An inch or two thick is fine. You don't want to make it so thick that it becomes hard to clean or hard for the chicks to walk over.

Personally, I use Save-A-Chick Electrolytes in the water and Grow Gel Plus in the food for the first day here. The journey was stressful, so I want to ensure they are getting plenty of nutrients and vitamins to recover properly. You can find both of these on Amazon for the best deal. (I do not receive any endorsements for this information. This is purely what I've had success with.) It is important to remove both of these after 24 hours and replace with clean water and fresh food.
Speaking of food and water, be sure to use a 20% protein chick crumble and lukewarm water. Cold water will send the chicks into shock, so avoid it at all costs. Be sure to add chick grit to their food as well. Your local feed store will be able to find something that works well for you.
When setting up your heat plate, be sure that there is plenty of space for your chicks walk under. For a heat lamp, you want to have it positioned in just one corner of the brooder so that the chicks can move away if too hot. Place your food and water on the side away from the heat lamp. You can gauge if your chicks are too warm or too cold based on how they are dispersed in the brooder. Are they tightly huddled together under the light? They're too cold, so lower the lamp a few inches. Are they evenly dispersed throughout the brooder? The temperature is perfect. Are they panting? The heat lamp is too close, so move it up a few inches. You'll want to move the lamp up a few inches every week to help the chicks get acclimated to moving outside.
Now for the fun part, handling the actual chicks! Pick each chick up one at a time and inspect them. Check to make sure there isn't any drainage from their eyes or mouth (you'll want to set up a second area to isolate those that do and keep a close eye on them), and be sure to inspect their vents to be sure sure they don't have Pasty Butt. If the chick passes inspection, dip their beak into the waterer so that they know where the water is, then place them near the heat source.
Pasty butt happens in stressed chicks after shipping quite frequently. Luckily, my batch didn't have these issues, so I don't have pictures to share with you, but it's pretty easy to tell when a chick has it. Poop will be suck to their feathers. It's comparable to a plug, which doesn't allow for the waste to go through the chick's intestines. You will have to place the chick's butt under warm water, then rub a small bit of Dawn dish soap on the feathers gently until the poop falls off. Do NOT pull, or you risk pulling out organs. Afterwards, dry the chick off and place back in the brooder.
Try not to allow excited children to play with the chicks for a few hours so that they can rest and recuperate. Keep the room dark and quiet to keep stressors to a minimum. Then, enjoy the chicks! This will be such a rewarding experience for you. Stay tuned or join us on Facebook, Instagram, and TikTok for more information and updates!


Comments